


English
Clone Tent Kit Manual
Product Contents
| Image | Quantity |
|---|---|
|
1PC |
|
1PC |
|
1PC |
|
2 PCS |
|
1 PC |
|
1 PC |
|
1 PC |
|
1 PC |
Safety Information
Please read the following information carefully before using. Failure to observe these safety instructions may result in serious injury and will release Vivosun of all liability and void all product warranties.
-
Before installing, operating, or maintaining this product kit, carefully read and follow the instructions in this manual, along with the manuals for each included device.
-
Ensure your AC power source meets the electrical requirements of every device in the kit.
-
Check and comply with all local laws and regulations regarding installation and operation, as they may impose additional safety requirements.
-
DO NOT use the devices in this kit outdoors or in hazardous locations, including areas near flammable, explosive, or corrosive chemicals, or in wet environments.
-
DO NOT cover the power cord with rugs or other materials.
-
DO NOT look directly at the LED grow light. Wear protective eyewear while it is operating.
-
Before installation, maintenance, or relocation, always unplug and power off the devices.
-
If a device or power cord is damaged, stop using it immediately and contact Vivosun for service. Unauthorized disassembly or modifications may cause damage and void the warranty.
DO NOT dispose of this product with regular trash. Electrical appliances contain hazardous materials that can harm the environment if not handled properly.
For safe disposal, contact your local authorities to find drop-o centers or recycling programs that accept electronic waste.
Quick Setup Guide
Step 1:
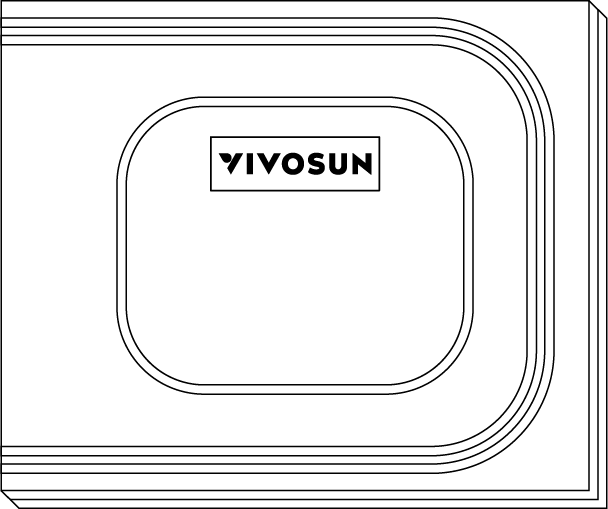
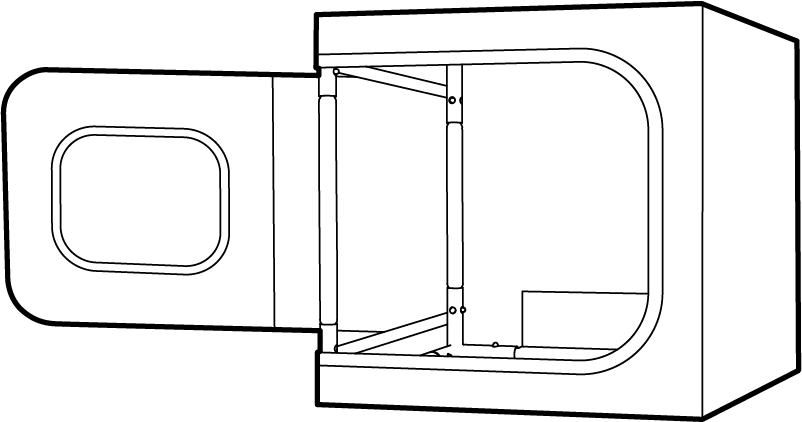
Setup your Clone Tent by following the instructions in the Clone Tent manual.
Step 2:
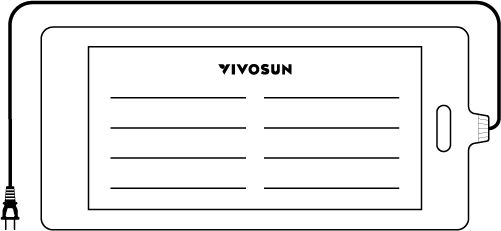
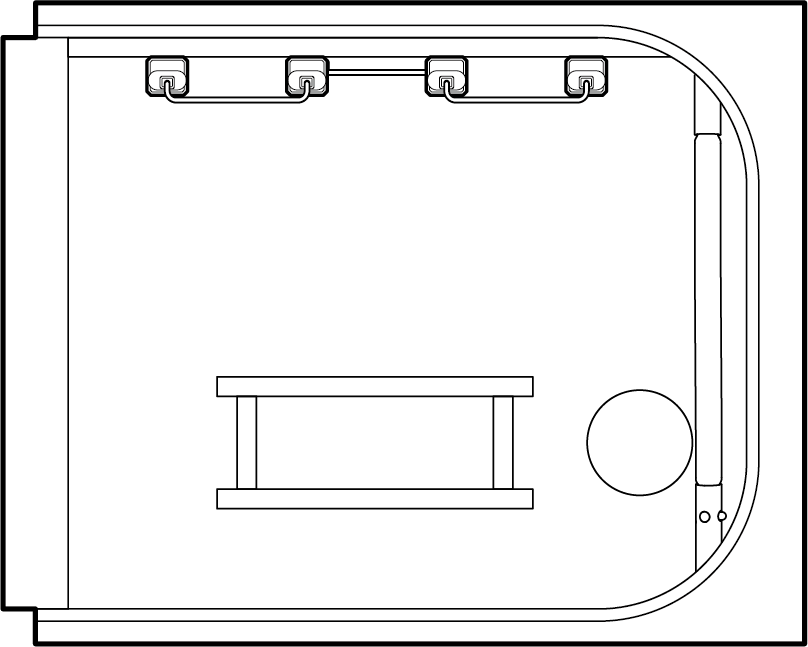
Hang the four T5 linear grow light strips evenly from the two ceiling bars on the top frame of the clone tent. For installation specifics, refer to the T5 Linear Grow Light manual.
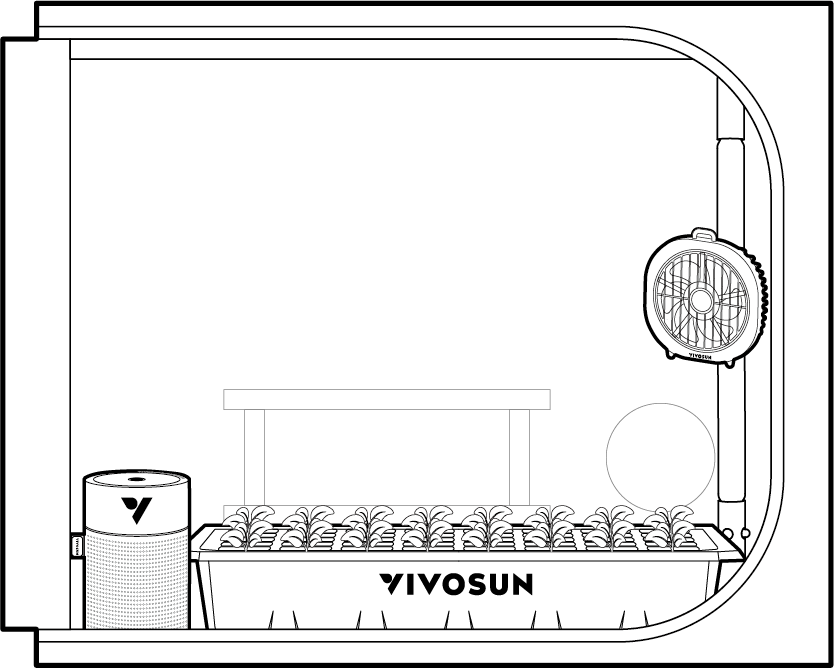
Step 3:
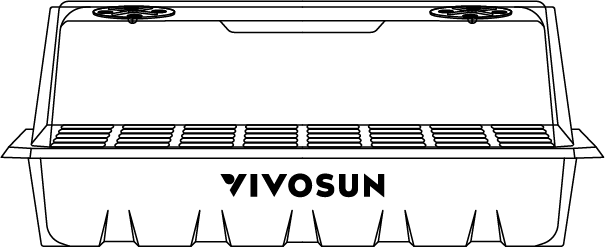
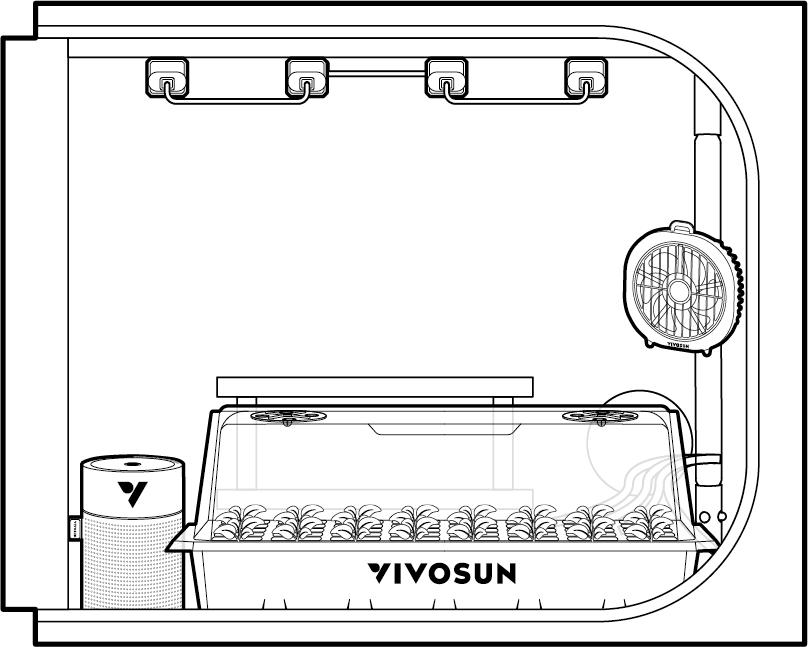
Place the 40-Cell Seed Starter Tray, Seedling Heat Mat, AeroWave D4, AeroStream U075 in the Clone Tent. The wires can be neatly arranged from behind the Clone Tent.
Step 4:
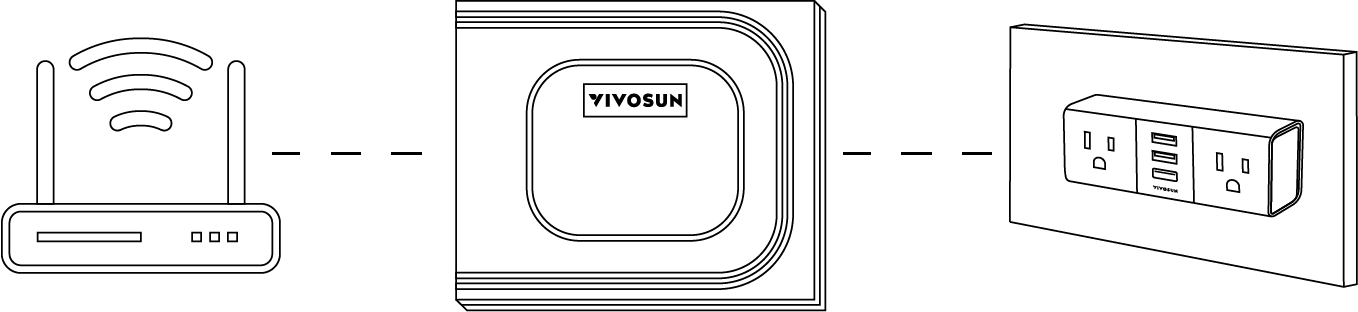
Plug the GrowHub A22 into a mains outlet located outside the Clone Tent. For installation specifics, please refer to the GrowHub A22 Manual.
Ensure the device is within 100 ft of the router. Minimize obstructions (e.g. walls, windows) between the device and the router.
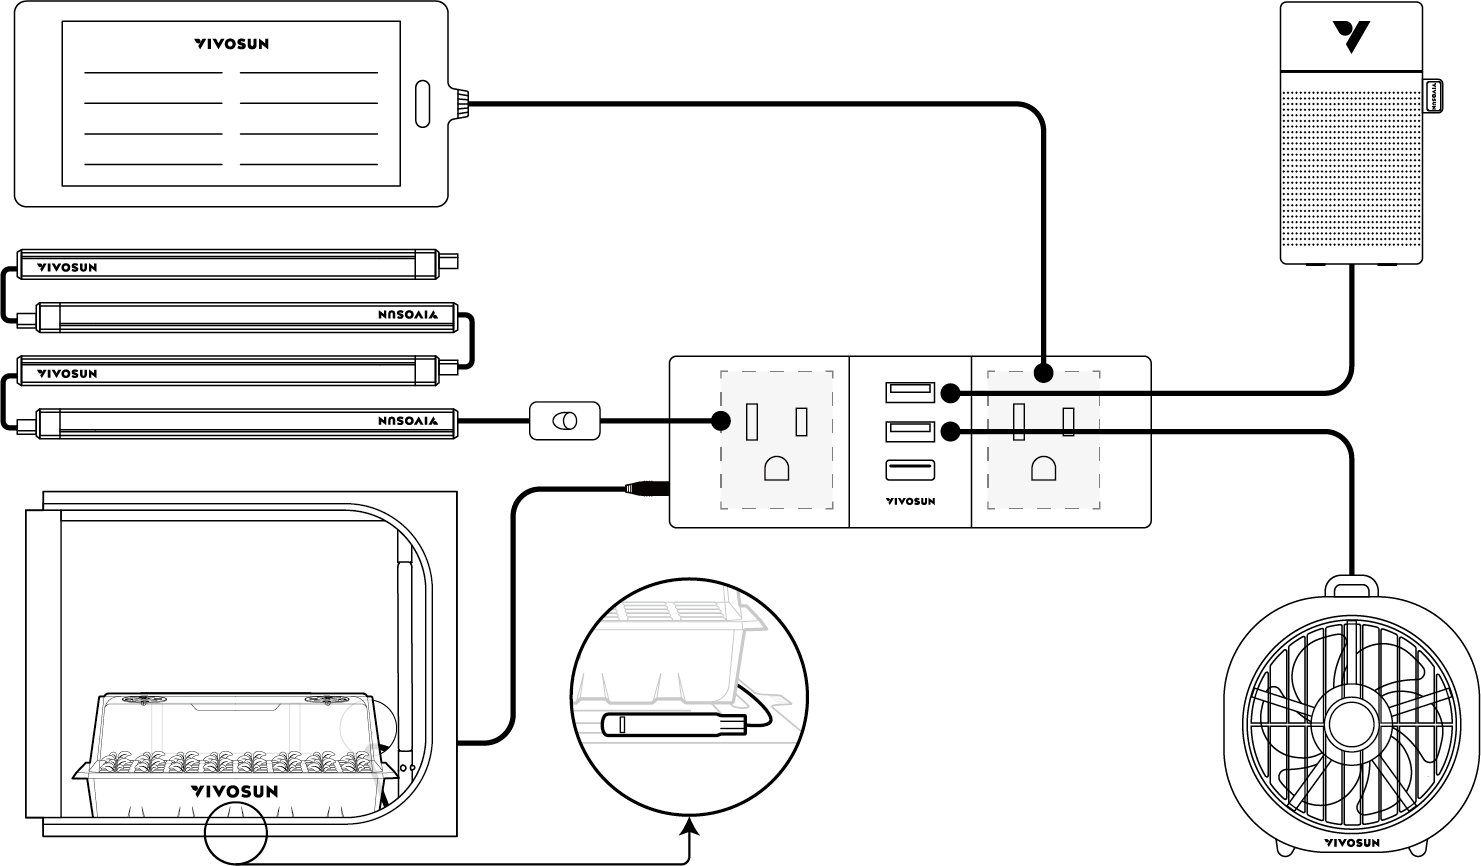
Step 5:
Plug the devices into GrowHub A22.
Note: It is recommended to place the Temperature & Humidity Sensor on the heat mat to control its temperature.
Step 6:
Download the Vivosun app from the App Store or Google Play Store. Follow the app’s instructions to register your account.
Step 7:
Connect GrowHub A22 to the Vivosun App. For specifics on how to do so , please refer to the GrowHub manual.
Grow Guide
1. Germination:
Moisten a paper towel, place the seeds inside, and fold it over them. Put the paper towel inside the seedling tray with the cell tray removed, then cover it with the dome.
Place the entire seedling tray inside the Clone Tent. If the room is cool, use a heating mat and set it to 77°F.
Keep the lights off during germination. Seeds typically sprout within 1–2 days.
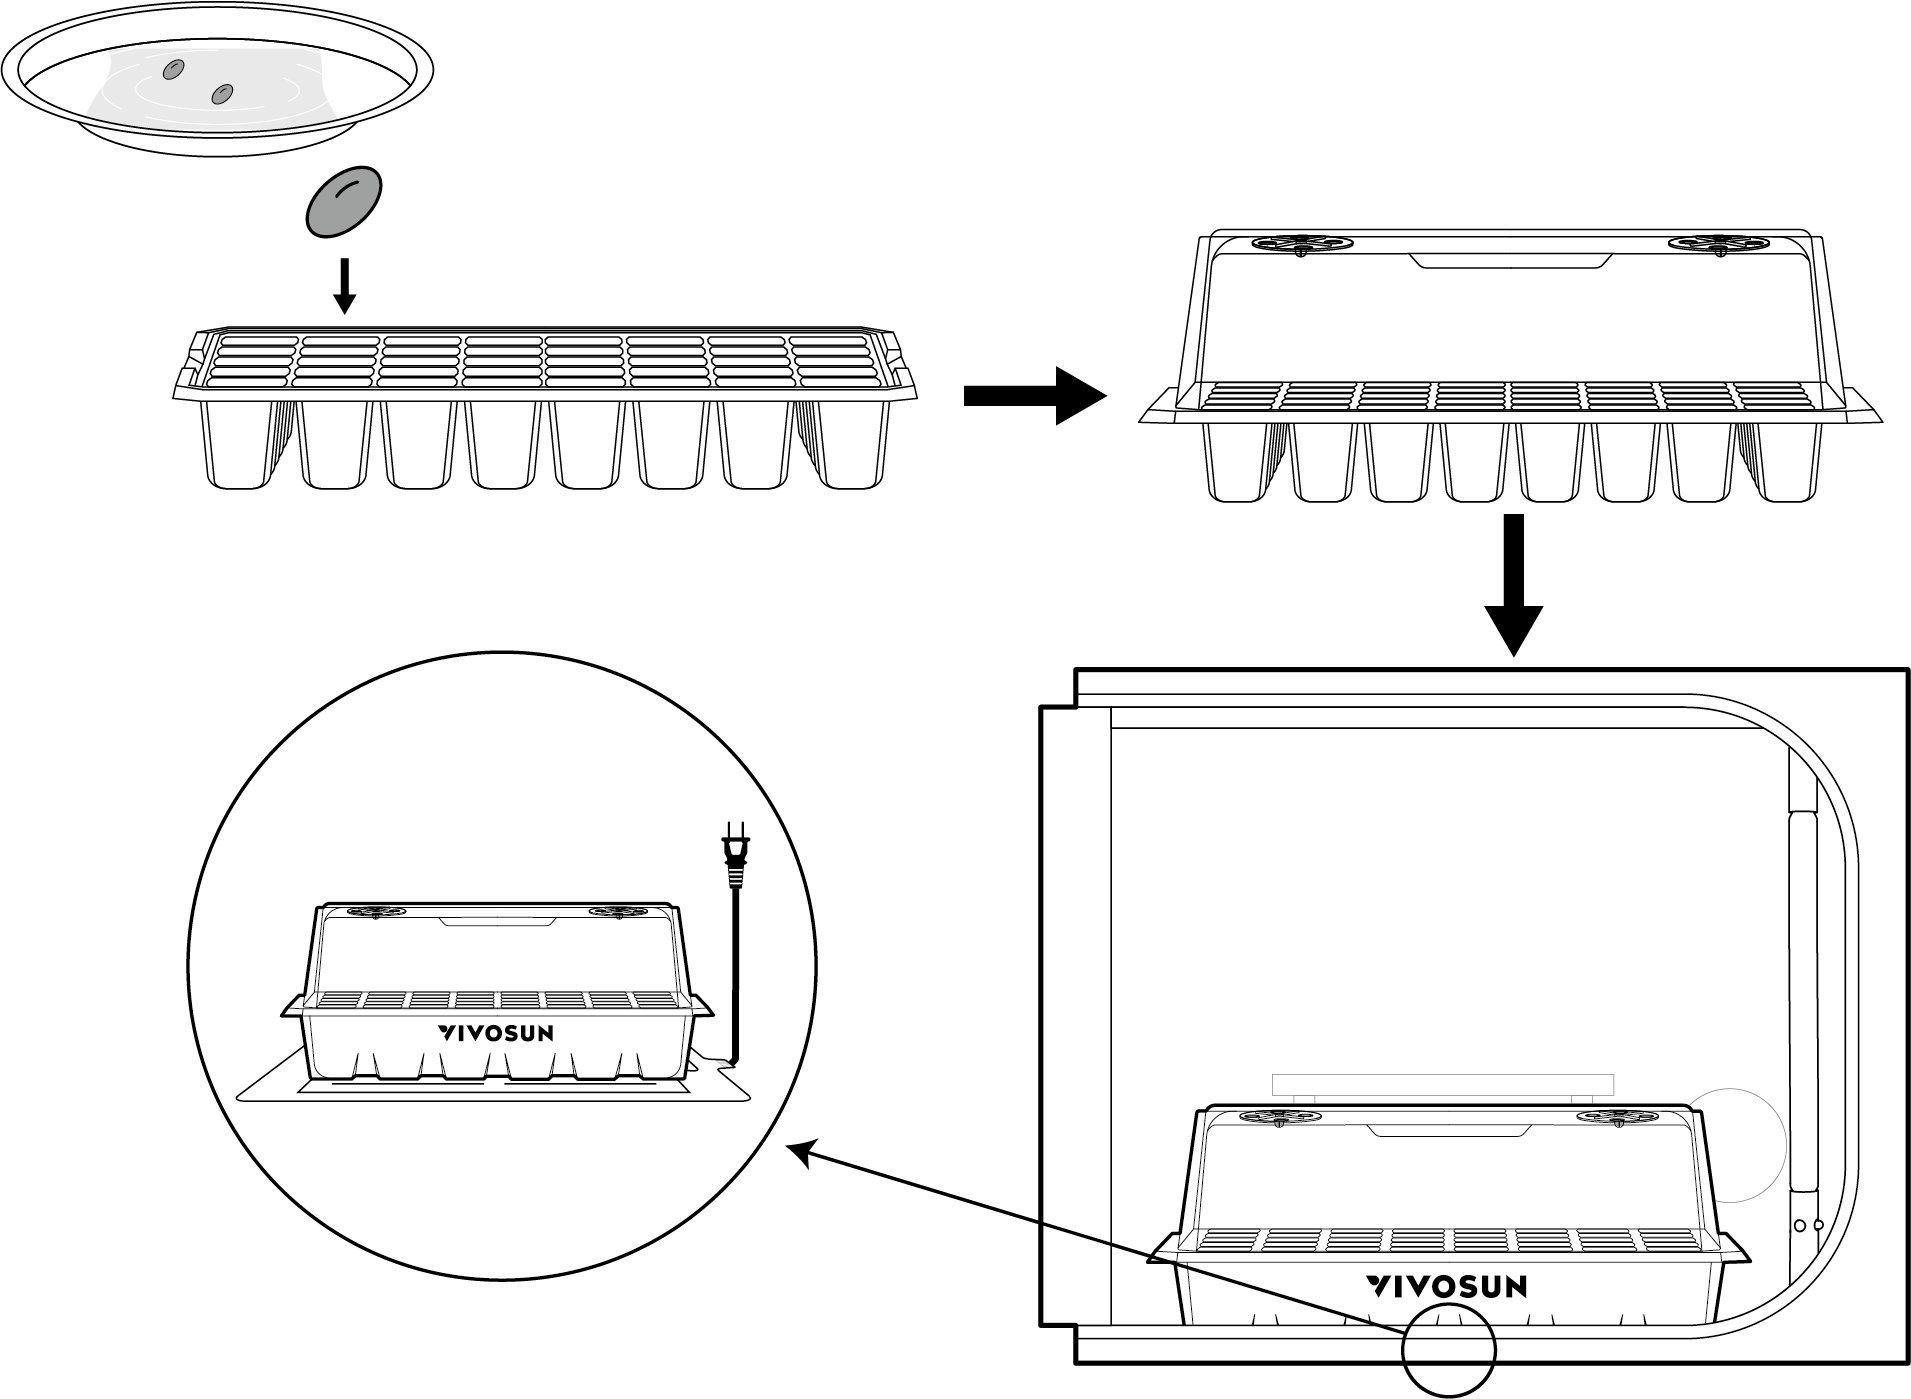
2. Sowing:
Pre-soak the starter plugs in a nutrient solution until fully hydrated.
Recommended nutrient levels:
-
pH: 5.5–6.5
-
EC: 0.5 mS/cm (≈250 ppm)
Place the soaked plugs into the cell tray. Transfer each germinated seed into a plug with the root tip facing down, then cover with the dome.
Set your environment to:
-
Temperature: 77°F
-
Light Cycle: 18/6 (set using the GrowHub A22)
Seedlings typically emerge in 1–2 days. (No humidifier or fan is needed during this stage.)

3. Seedling:
This stage lasts 7–14 days.
When the cotyledons open and the first true leaves appear, remove the dome and set your environment to:
-
Temperature: 77°F
-
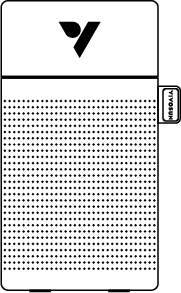
Humidity: 70–80% (turn on the humidifier)
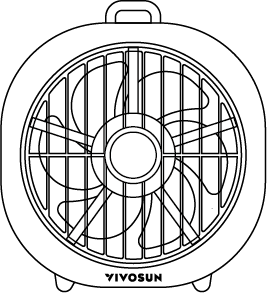
When seedlings develop 2–3 true leaves, turn on the circulation fan and check moisture levels in the starter plugs daily. When they begin to dry, water with a nutrient solution:
-
pH: 5.5–6.5
-
EC: 0.5–1.0 mS/cm (≈250–500 ppm)
After watering, pour out any excess solution remaining in the tray.
Depending on temperature and humidity, you may need to slightly open the tent vents to improve airflow.
Warranty
VIVOSUN offers a 2-year limited warranty on this product purchased directly from us or our authorized dealers, beginning on the original date of purchase.
This warranty is provided in addition to, and does not affect, your statutory rights under applicable consumer protection laws in the country where the product was purchased.
For the full Warranty Policy, please visit: https://www.vivosun.com/help/warranty-policy.
Alternatively, you may contact customer service at support@vivosun.com / +1 888-505-8486.
Contents

We help you grow your best green.

We provide the highest quality.

We relentlessly pursue the future.

We make growing more enjoyable.

We support every grower.
Sign up and get 10% off your first order
©2026 Vivosun All Rights Reserved